
A smart class projector should make teaching easier, not add another layer of equipment to manage. But the right choice depends on more than brightness, resolution, or a long feature list.
For a school, college, coaching center, or tuition setup, the practical questions matter most. Will students see the content clearly? Can teachers use their normal lesson files? Does the setup support the required level of interaction? What infrastructure is needed? And what will the complete classroom setup cost?
This guide helps you evaluate a smart class projector around the way your classroom actually works.
What Is a Smart Class Projector?
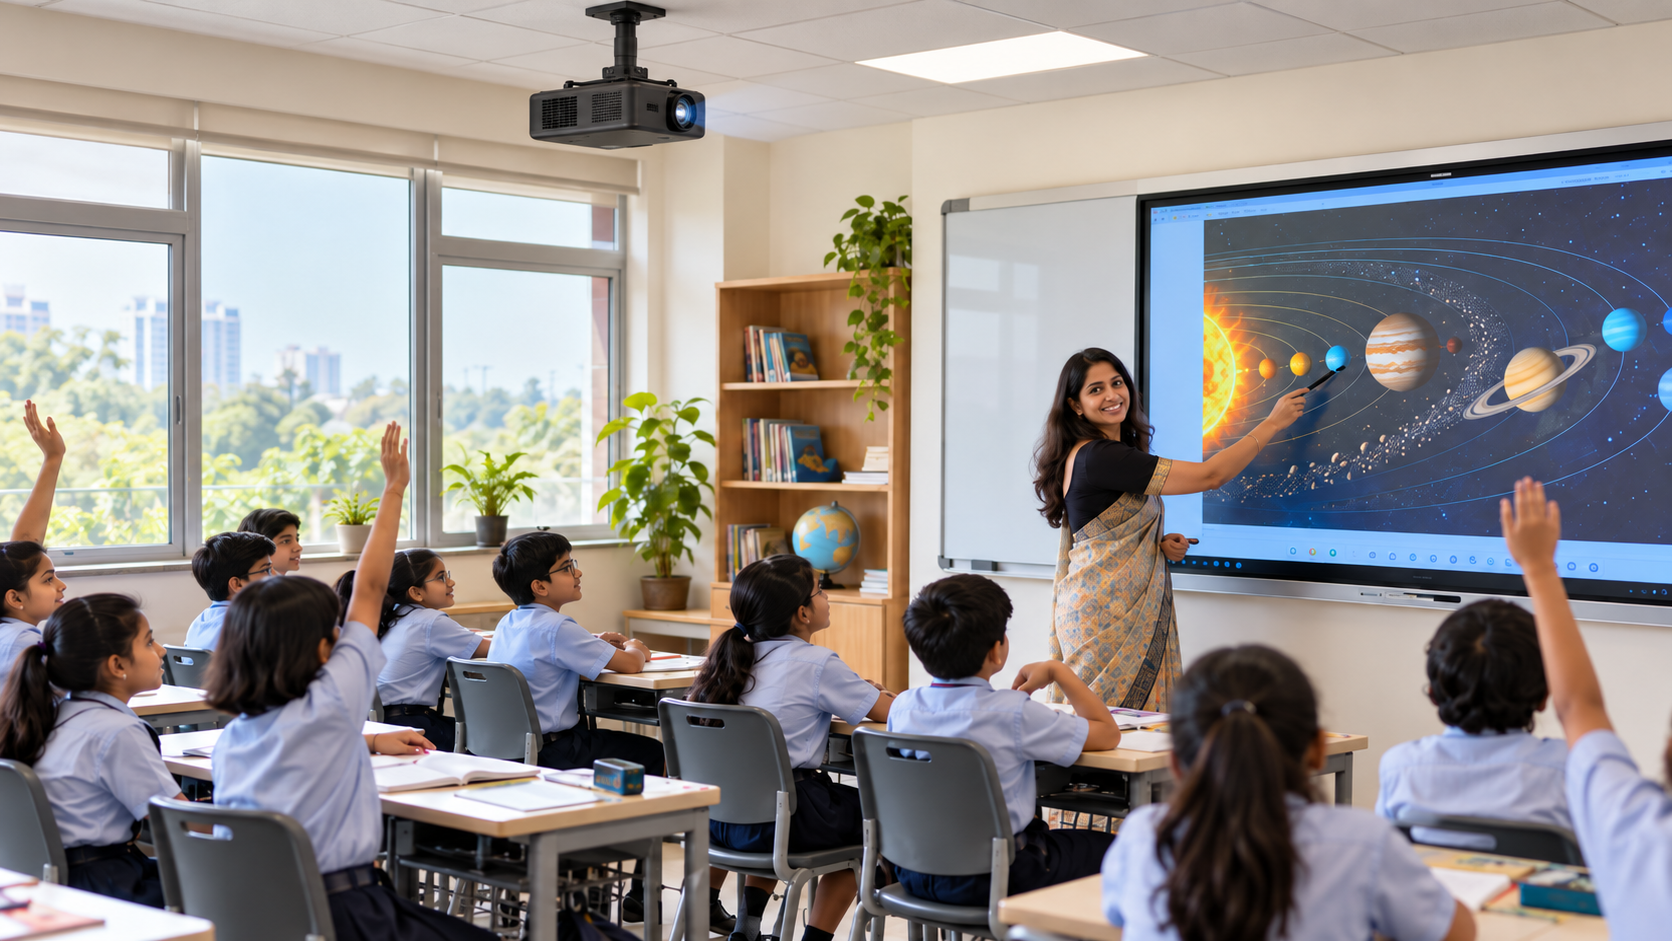
A smart class projector is a projection-based classroom setup that adds digital capabilities beyond basic content display.
Depending on the system, those capabilities may include computing, connectivity, annotation, audio, cameras, and other teaching tools.
Because products described as “smart projectors” can vary widely, schools should compare the actual classroom workflow and included hardware rather than relying on the product label alone.
Start With Your Classroom, Not the Projector Specifications
A specification sheet cannot tell you whether a projector will work well in your room.
Start by looking at the environment where teachers and students will use it.
1. Classroom Size and Viewing Distance
Measure the room and consider where the nearest and farthest students sit.
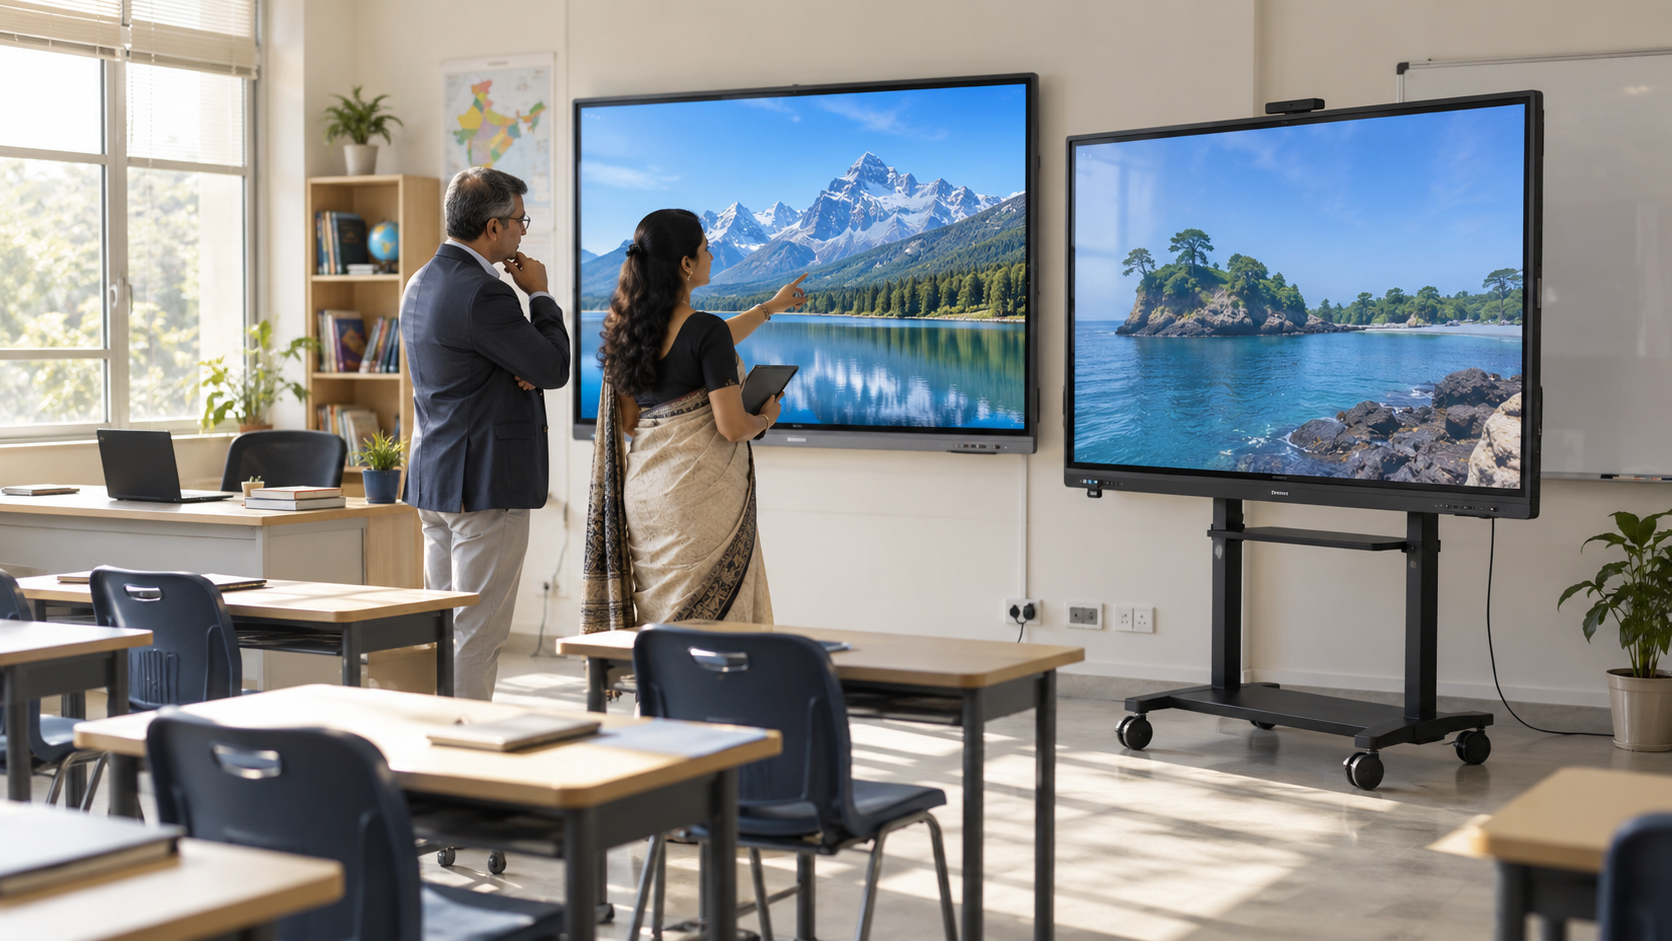
During a demo, check whether text, diagrams, tables, and other common lesson material remain readable from student seats.
A setup that looks clear from the front of the classroom may perform very differently from the back.
2. Ambient Light and Image Visibility
Windows, overhead lights, wall color, projection size, and viewing distance can all affect visibility.
Avoid using one brightness number as your only decision rule. Instead, ask to see the system under the lighting conditions teachers normally use.
Open a text-heavy lesson and check whether smaller text and diagrams remain clear without having to darken the room more than is practical for teaching.
3. Projection Area and Classroom Layout
Check whether the room has a suitable wall or screen area and whether the projected image fits without interfering with doors, boards, furniture, or teaching space.
If teachers need to interact with projected content, also check whether the interactive area fits naturally into their normal movement.
4. Existing Infrastructure
List what the classroom already has:
- Power points
- Network access
- Speakers
- Computers
- Cameras
- Mounting infrastructure
- Existing cabling
Then identify what the new setup can reuse and what must be added.
This prevents a low device price from turning into a higher-than-expected classroom setup cost.
Smart Class Projector Buying Checklist
Use this checklist before comparing models or vendors.
The goal is not to find the projector with the longest feature list. It is to identify which setup meets your institution’s teaching requirements with the least unnecessary complexity.
Which Smart Class Projector Features Matter?
Once you understand the room, you can evaluate features in context.
1. Connectivity
A smart projector for classrooms should make it easy for teachers to access and share lesson content. Depending on the setup, this may include HDMI, USB, wireless connectivity, or network access.
Test the connectivity methods your institution is likely to use and confirm that any existing classroom equipment that still needs to work with the new setup can connect as required.
2. Built-In Computing and Software Access
An integrated computing unit can reduce reliance on a separate classroom PC.
Check the operating system, software requirements, update process, and whether the teaching applications your institution depends on can be accessed as required.
The practical question is whether teachers can move from startup to the lesson without unnecessary devices or extra setup steps.
3. Image Clarity and Visibility
Resolution matters, but classroom visibility depends on the complete environment.
Evaluate:
- Text clarity
- Projection size
- Ambient light
- Viewing distance
- Typical lesson content
One practical test is to open an ordinary worksheet or presentation and view it from the back and sides of the classroom.
4. Writing and Interactivity
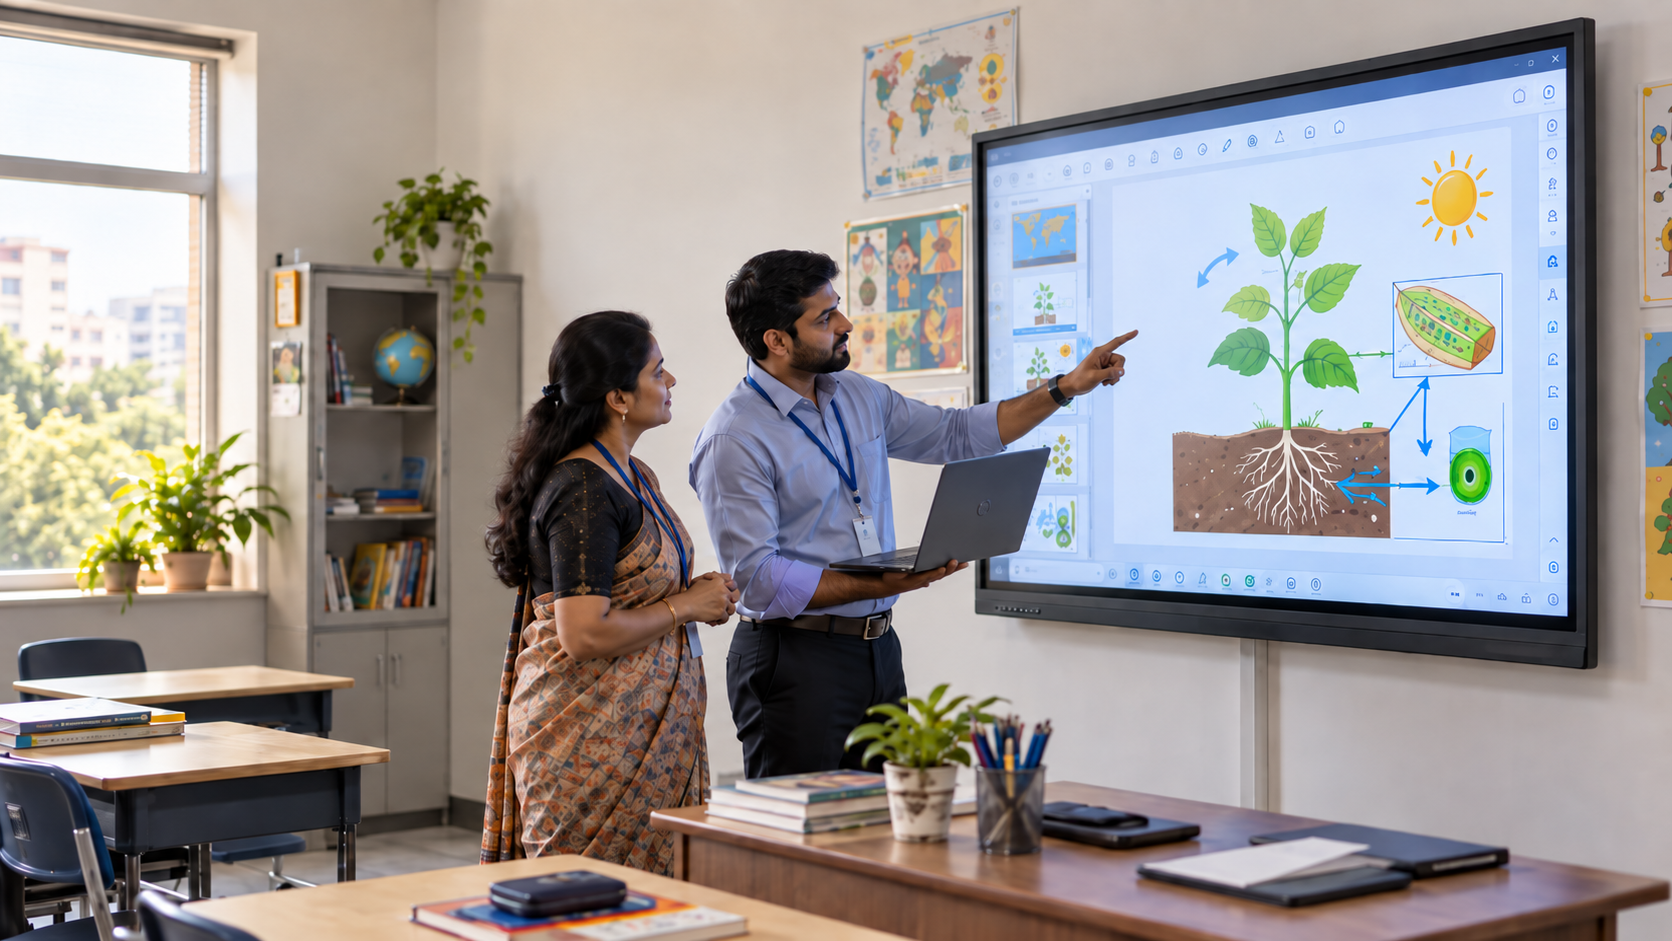
If teachers need to write over lesson content, underline text, explain diagrams, or annotate examples, test those actions directly.
Write quickly, erase, annotate smaller elements, and move between lesson content and interaction.
If your institution is also considering flat panels, use the dedicated guide to interactive projectors vs. interactive panels rather than trying to settle that decision through projector specifications alone.
5. Audio, Multimedia, and Lesson Files
Check whether audio remains clear from normal student seating positions.
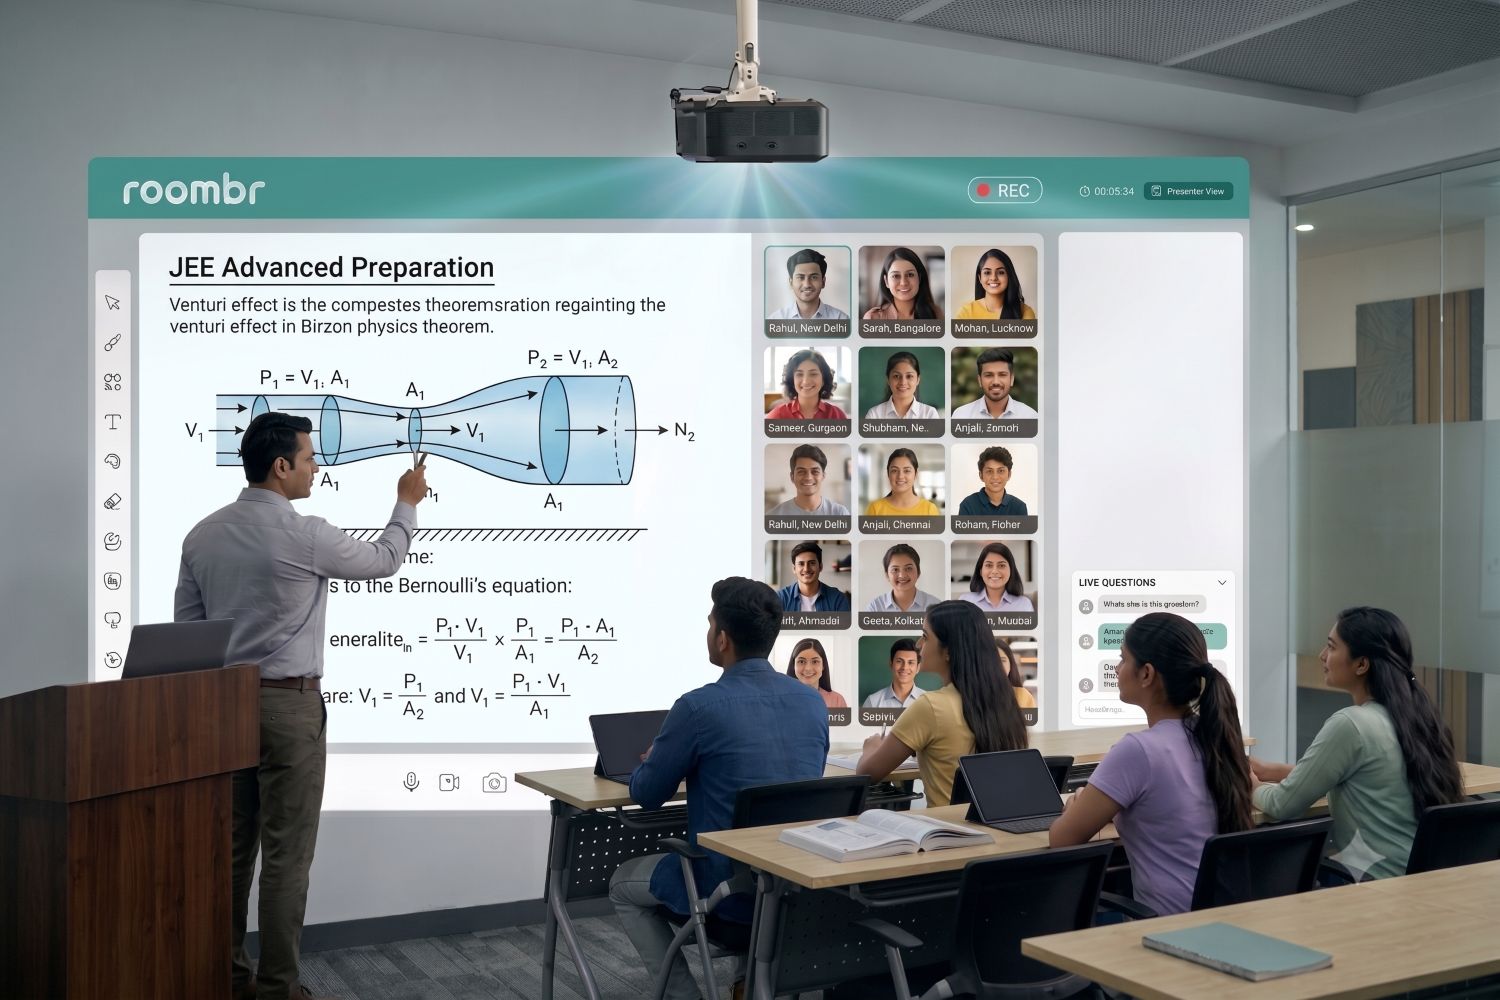
If hybrid teaching is part of your requirements, test the complete workflow, including cameras, microphones, speakers, network connectivity, and the conferencing software your institution uses.
Bring real lesson content to the demo, such as:
- Presentations
- PDFs
- Videos
- Diagrams
- Web resources
- LMS content
Check whether teachers can open, present, and move between these resources smoothly. Compatibility may vary depending on the software, file format, permissions, hardware, or network environment.
A file opening successfully is only the first test. The real question is whether teachers can use their normal lesson content without unnecessary workarounds.
6. Installation, Support, and Scalability
Ask what comes with the system, what preparation the classroom needs, and what training teachers receive.
If several classrooms are planned, ask how the setup will be standardized.
A system that works well in one demo room may still create complexity if every classroom requires a different combination of devices, settings, or installation work.
What Determines Smart Class Projector Price?
The smart class projector price is only one part of the buying decision.
The full classroom cost may include:
- Projection hardware
- Computing
- Interactive tools
- Audio equipment
- Cameras, if required
- Software or licenses
- Mounts and cabling
- Electrical or network work
- Installation
- Teacher training
- Support
- Number of classrooms deployed
A standalone projector may have a lower device price but require additional equipment. An integrated system may combine more functions within one setup.
Compare like with like before deciding which option costs less overall.
For deeper information about light-source technology and maintenance considerations, see the lamp vs. LED vs. laser projector guide.
Projector, Interactive Projector, or Integrated Classroom System?
The right category depends on what teachers need to do.
A standard presentation projector may be enough when the main requirement is displaying content from another device.
An interactive projector becomes more relevant when teachers need to write, annotate, or interact with the projected lesson.
An integrated projection-based classroom system combines more functions, such as projection, computing, audio, cameras, and interactivity, within a broader classroom setup.
Ask three questions before choosing:
- What does the teacher need to do during a normal lesson?
- Which classroom equipment is already available?
- How many separate devices does the institution want to install and maintain?
Answering these first makes individual product comparisons more meaningful.
What Should Indian Schools and Colleges Check Before Buying?
When evaluating projectors for classrooms in India, procurement teams should look beyond the device itself.
Before approving a purchase, confirm:
- Whether existing electrical and network infrastructure is sufficient
- What mounting or room preparation is required
- Whether current classroom equipment can be reused
- What teacher onboarding is included
- How service and support are handled
- What changes are needed for a multi-classroom rollout
- Whether the vendor will test the setup under real classroom conditions
The right configuration may vary even within one institution.
How Projector Requirements Change Across Learning Spaces
Different teaching environments place different demands on a classroom projector.
K–12 Classrooms
For K–12, prioritize simple operation, easy lesson switching, clear visibility, and the level of interaction teachers actually need.
Teachers should be able to start a lesson, use familiar content, and continue teaching without repeated technical help.
Colleges and Lecture Halls
Larger rooms place greater importance on viewing distance, usable projection size, audio, and existing AV infrastructure.
College teams should test the system from the farthest student seats rather than evaluating it only from the teaching area.
Coaching and Tuition Classes
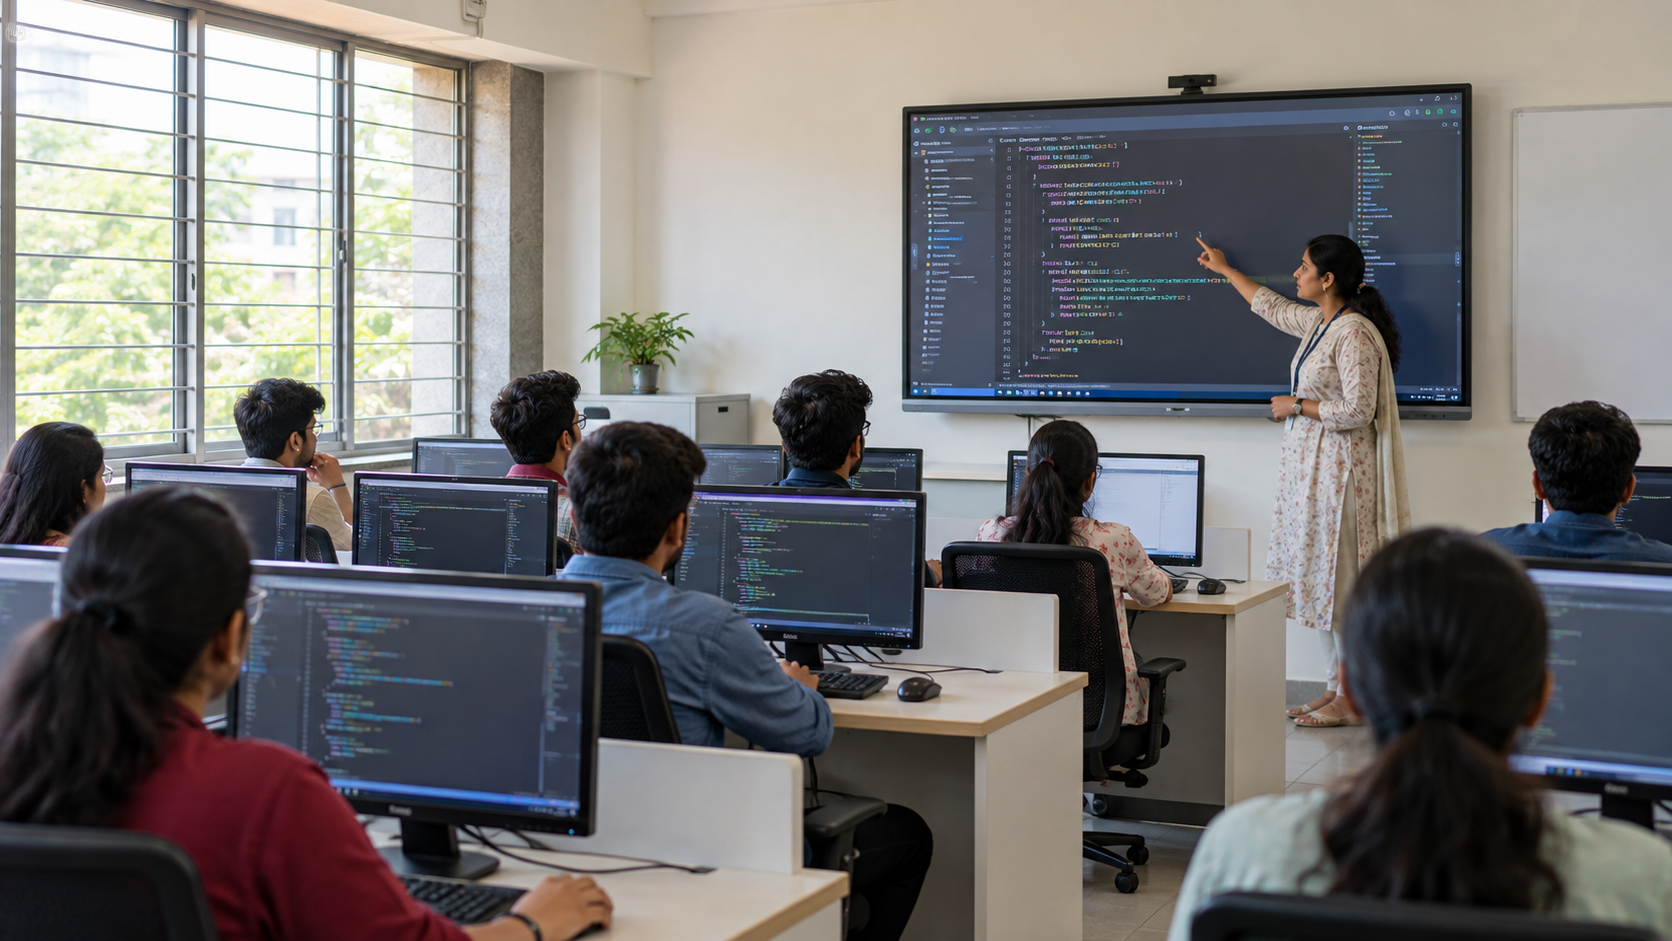
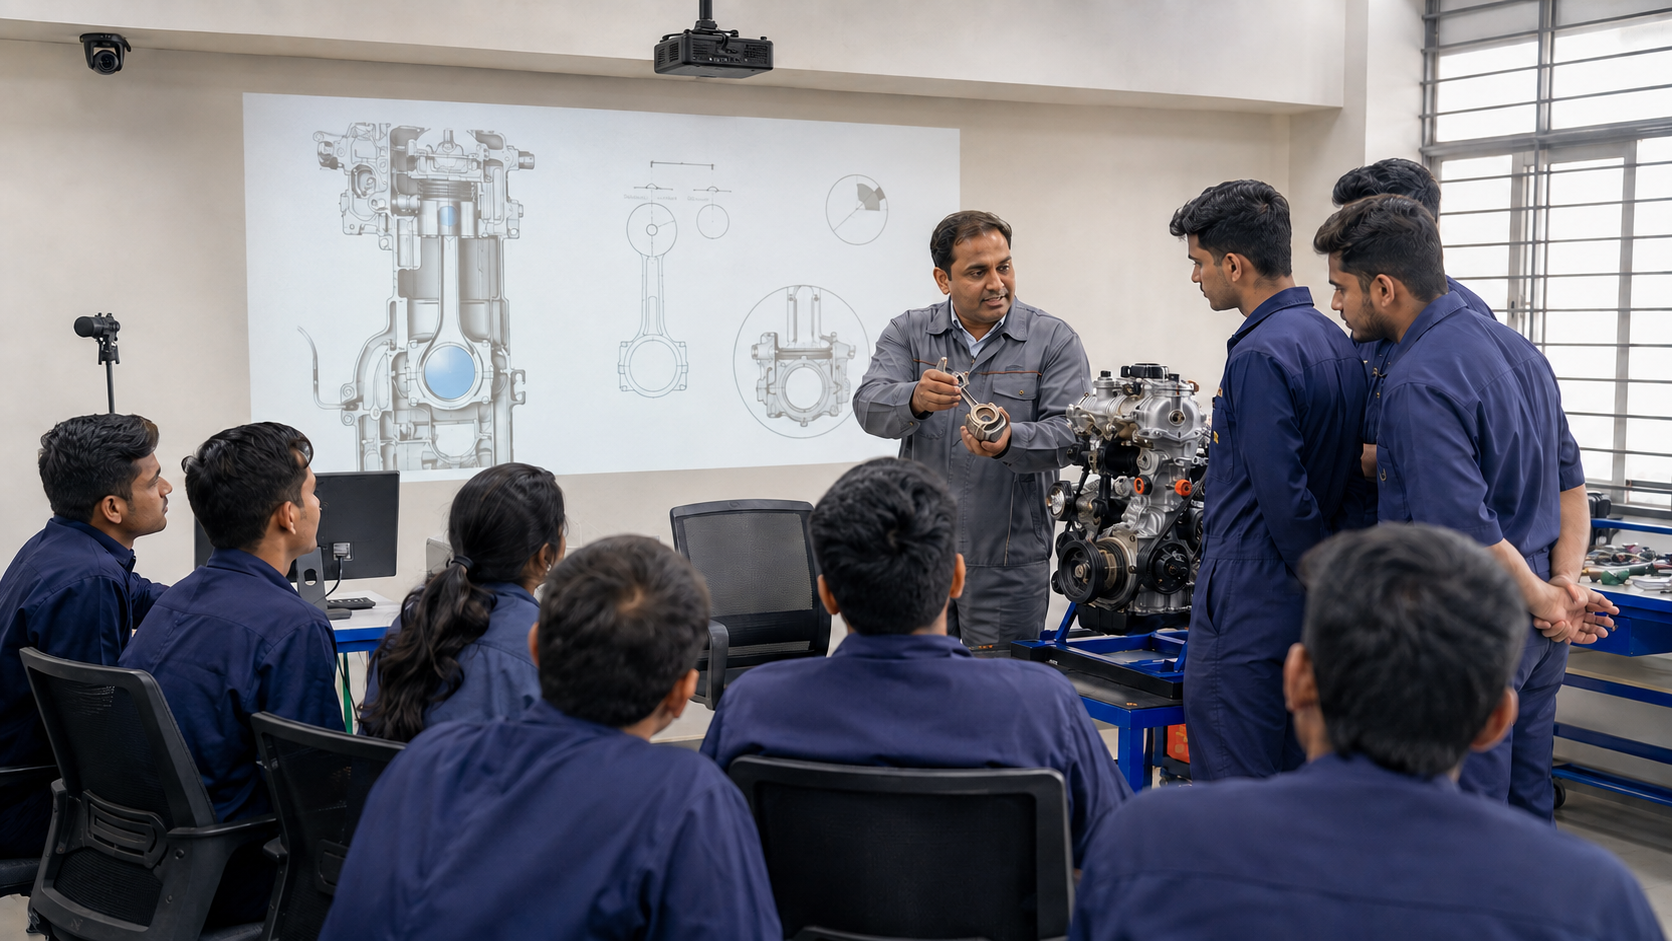
A projector for coaching classes or tuition classes may be used through long teaching schedules and frequent lesson changes.
These environments should prioritize:
- Readable text
- Quick content access
- Appropriate room fit
- Simple operation
- Reliable connectivity
- Minimal setup between sessions
A smaller room does not automatically make the buying decision easier. Text-heavy exam preparation content can make readability especially important.
Test the Smart Class Projector With a Real Lesson Before Buying
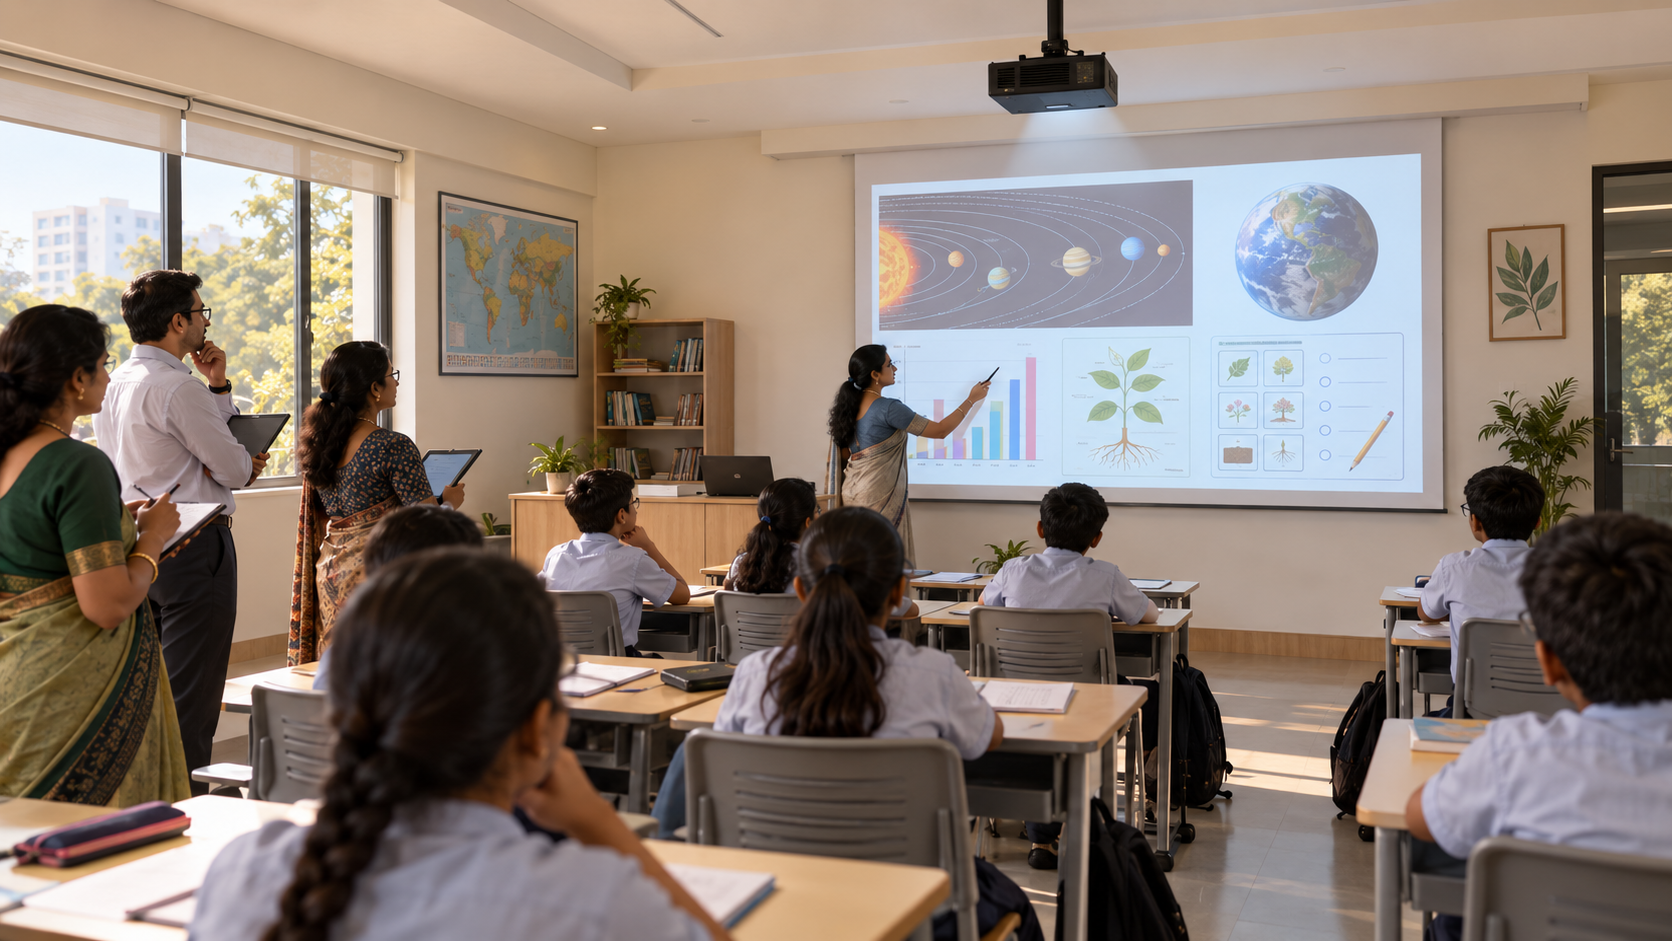
A short real-lesson test can reveal more than a long product presentation.
Ask one of your teachers to bring a familiar lesson and check five things.
- Visibility: Open text-heavy material and view it from the front, middle, and back of the classroom.
- Lesson Handling: Open a real PPT, PDF, video, or other frequently used resource.
- Interactivity: If required, write, erase, and annotate during the lesson.
- Audio and Connectivity: Test the normal classroom audio and connect one device teachers commonly use.
- Teacher Independence: Ask the teacher to complete these actions without vendor assistance.
If the setup passes these basic checks, use the more detailed smart classroom demo checklist to evaluate the wider classroom system, support, equipment, implementation, and scalability.
Questions to Ask Before Finalizing a Projector Setup
If you are replacing an older system, review these projector upgrade warning signs before deciding what should be retained or replaced.
How Roombr Approaches the Smart Class Projector Setup
Roombr takes an integrated projection-based approach rather than treating the classroom projector as a standalone device.
Roombr combines projection, computing, integrated cameras, speakers, microphones, connectivity, and IR-based interactivity within one classroom system. This reduces the need to plan and manage multiple separate devices while supporting interactive teaching and other digital classroom workflows.
One practical advantage is the flexibility of the projected display size. Roombr’s all-in-one smart projector for classrooms can scale from 50 inches to 200 inches, depending on the classroom and the distance between the projector and the wall. This allows institutions to adjust the display size to suit a smaller classroom, a standard teaching room, or a larger lecture space rather than working around one fixed screen size.
That flexibility should be evaluated in the room. A larger projected image is only useful if students can read the content clearly and the available wall area, viewing distance, lighting, and classroom layout support it.
Schools and colleges should test:
- Student visibility from different seating positions
- Lesson access and file handling
- Teacher interaction and annotation
- Audio
- Connectivity
- Existing infrastructure
- Ease of use
- Whether the chosen projection size suits the room
Roombr also supports classroom recording and content-sharing functions where those capabilities are relevant to the institution’s teaching model.
The same room-fit and workflow criteria used for any other projector for a smart classroom should still be applied when evaluating Roombr. The advantage is that the projected display size can be adjusted to the room rather than being limited to a single fixed panel size.
Key Insights
Choosing a smart class projector should begin with the classroom, not the longest specification sheet.
Start with room conditions, lesson workflow, interactivity, infrastructure, and total setup cost. Then test the shortlisted system with a real teacher and real lesson content.
That gives schools and colleges a stronger basis for comparing options and reduces the risk of choosing a setup that looks impressive in a product demonstration but creates friction in everyday teaching.
Frequently Asked Questions
1. What is a smart class projector?
A smart class projector is a projection-based teaching setup that adds digital functions beyond basic content display. Depending on the system, these may include computing, connectivity, annotation, audio, cameras, and other classroom tools.
2. How much does a smart classroom projector cost?
In India, a smart projector for classroom setup can cost approximately ₹50,000 to ₹3 lakh or more per classroom, depending on the configuration and what is included. A basic projector-based setup may sit at the lower end, while integrated systems with computing, interactivity, audio, cameras, software, installation, training, and support can cost more.
Compare the total classroom setup cost, not just the projector price, and request a classroom-specific quote before making a purchase decision.
3. What type of projector works best in a classroom?
The suitable option depends on room size, ambient light, viewing distance, lesson content, interactivity needs, infrastructure, and budget. Test readability and normal teaching workflows in the actual room before purchasing.
4. Can a smart class projector be used in coaching or tuition classes?
Yes, a projector-based setup can be effective in coaching and tuition environments when room conditions, text visibility, teaching workflow, connectivity, and operating requirements are suitable. Test the exact configuration in that teaching space.
5. Which is a better fit for schools: a projector or an interactive panel?
Neither architecture is automatically right for every classroom. Compare room conditions, required display size, interaction needs, installation, existing infrastructure, teaching workflow, support, and total setup cost before choosing.
Test Roombr in Your Classroom Before You Decide
If your institution is evaluating a smart class projector or a more integrated projection-based classroom system, use your teaching environment as the final test.
Bring a teacher, sample lesson files, and your must-have classroom workflows to a Roombr demo. Check visibility from student seats, open your normal content, test writing or annotation where required, and review audio, connectivity, infrastructure, training, and support.
Then compare the experience against your buying requirements rather than choosing from specifications alone.
Explore Roombr Digital Classroom and request a classroom-specific demo.

Foziya Abuwala
Share
Step Into the future of
Education with Roombr