

Choosing between an interactive projector and an interactive flat panel is not simply a matter of deciding which technology looks more advanced.
For schools and colleges, the better question is: Which classroom setup fits the room, teaching workflow, infrastructure, and long-term deployment plan?
An interactive flat panel gives you a fixed digital display with direct touch interaction. A projection-based interactive system takes a different approach, using projection and an interactive teaching surface. Each architecture comes with its own room, installation, visibility, maintenance, and workflow considerations.
The right choice becomes clearer when institutions compare the systems under the conditions in which teachers will use them.
Interactive Projector vs Interactive Flat Panel: What Is Different?

The main difference is not simply “projector versus screen.” The two options use different classroom architectures.
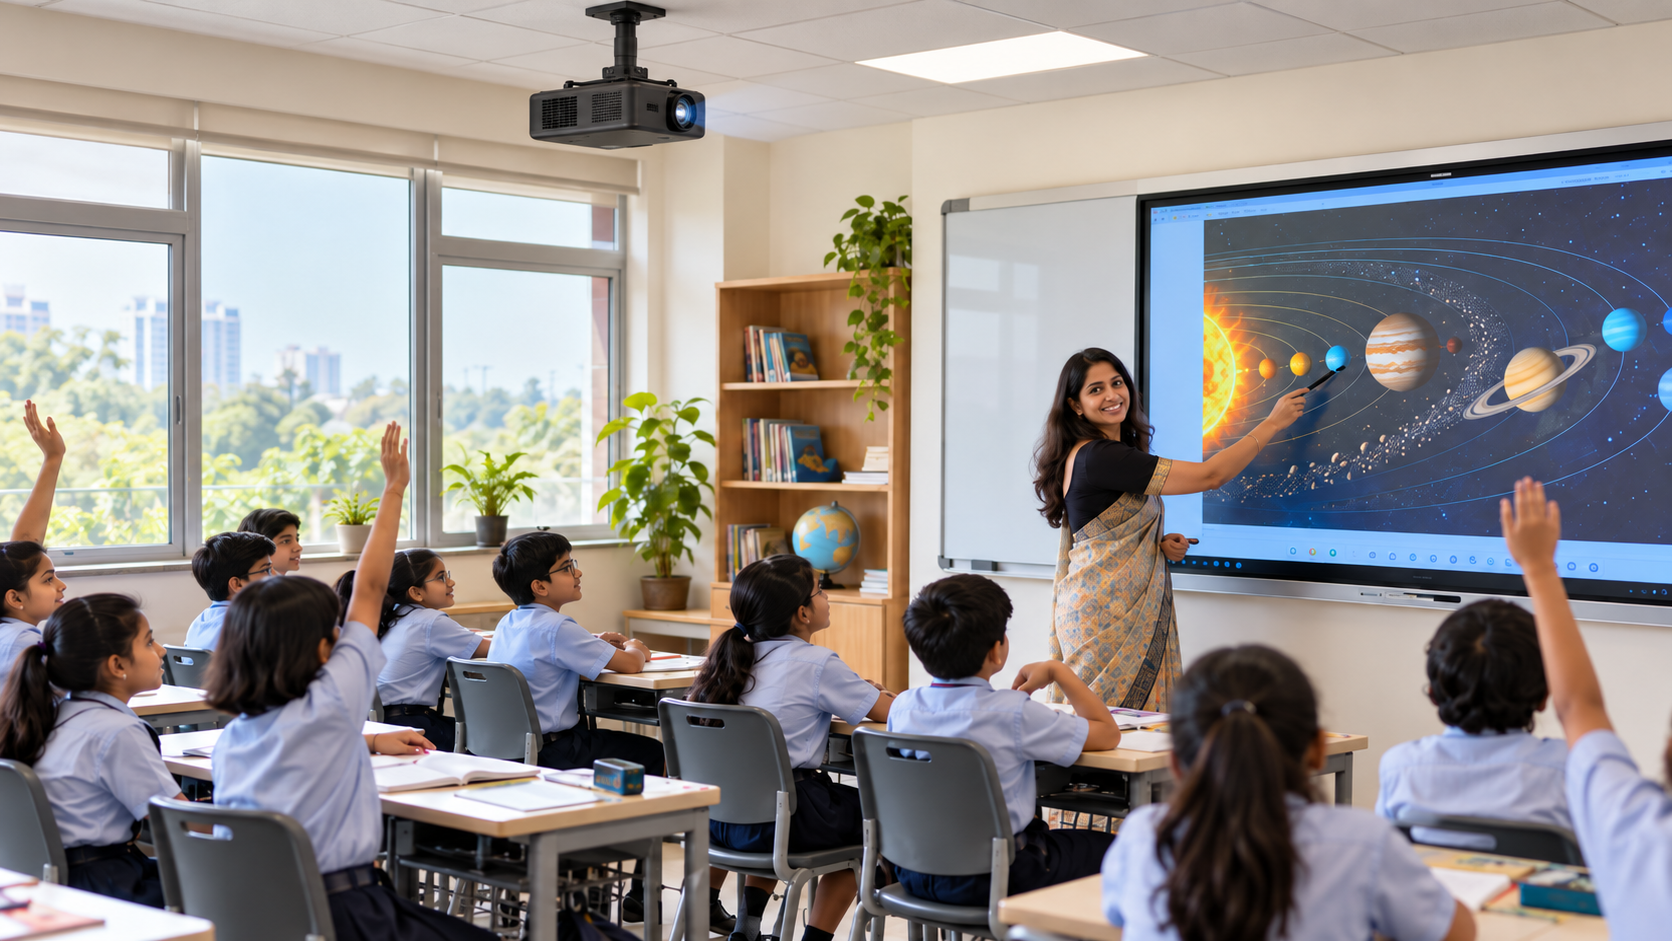
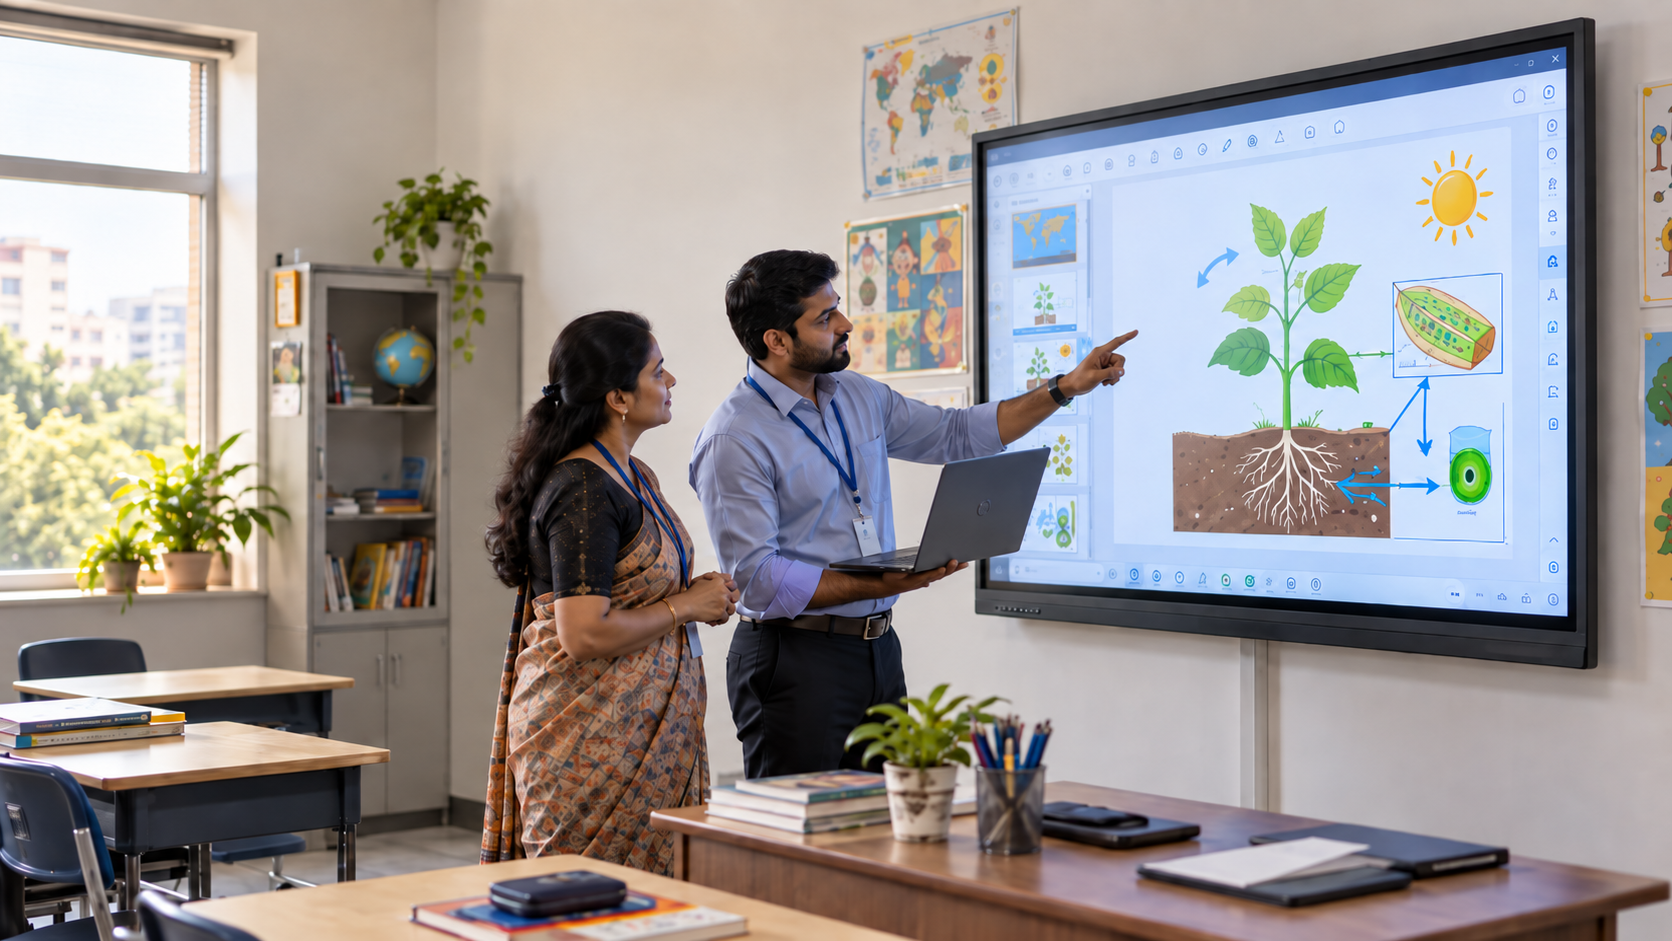
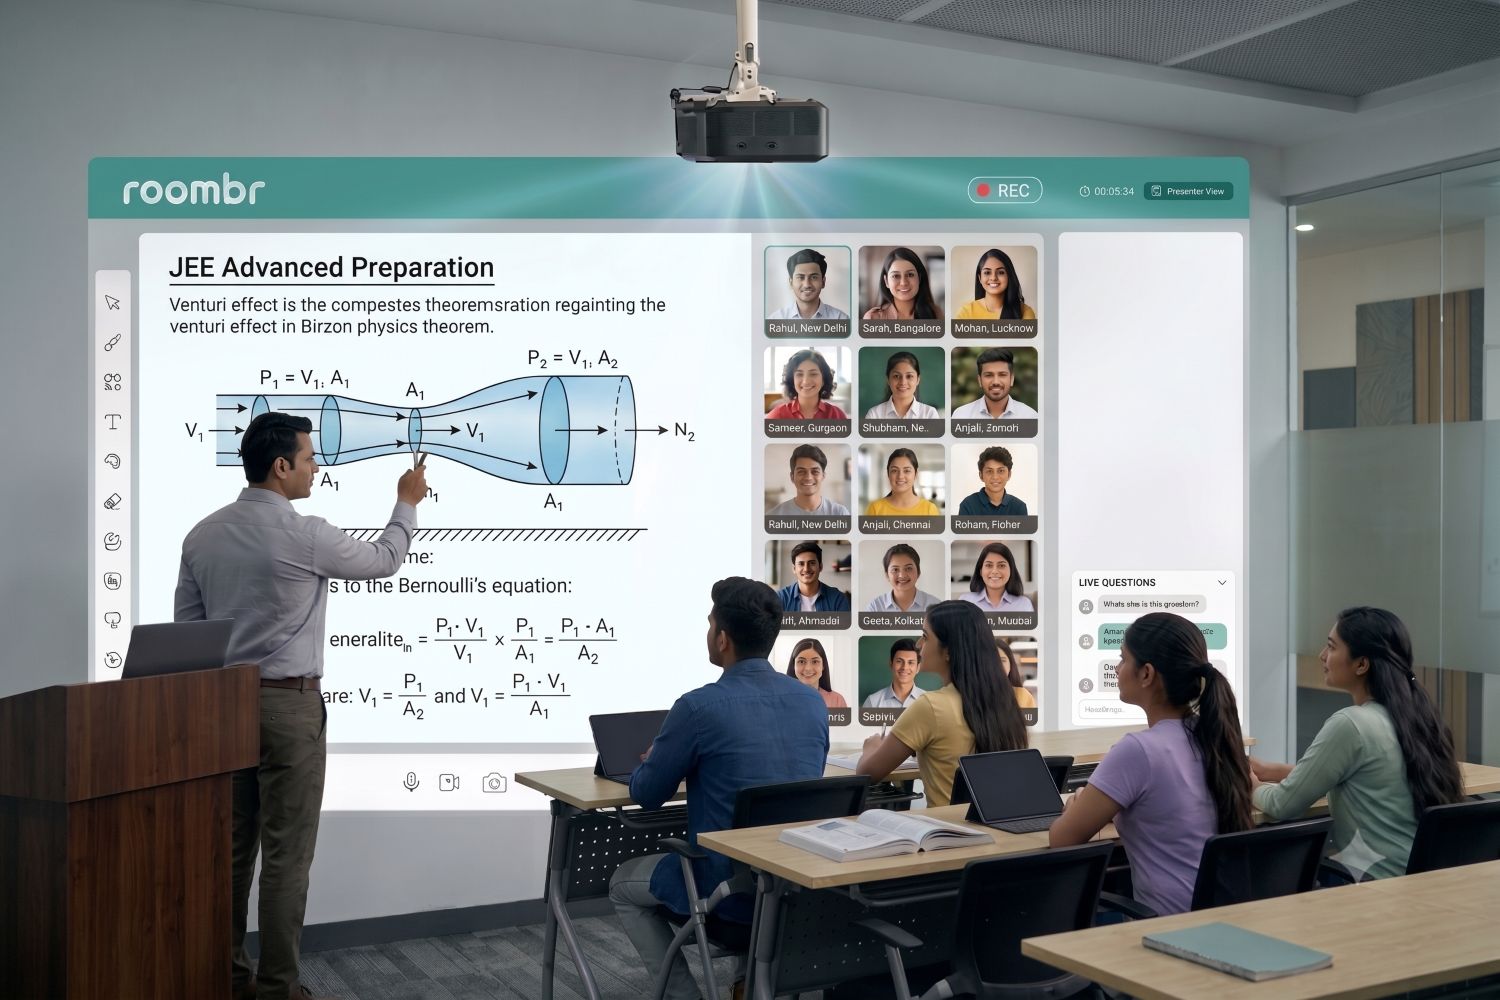
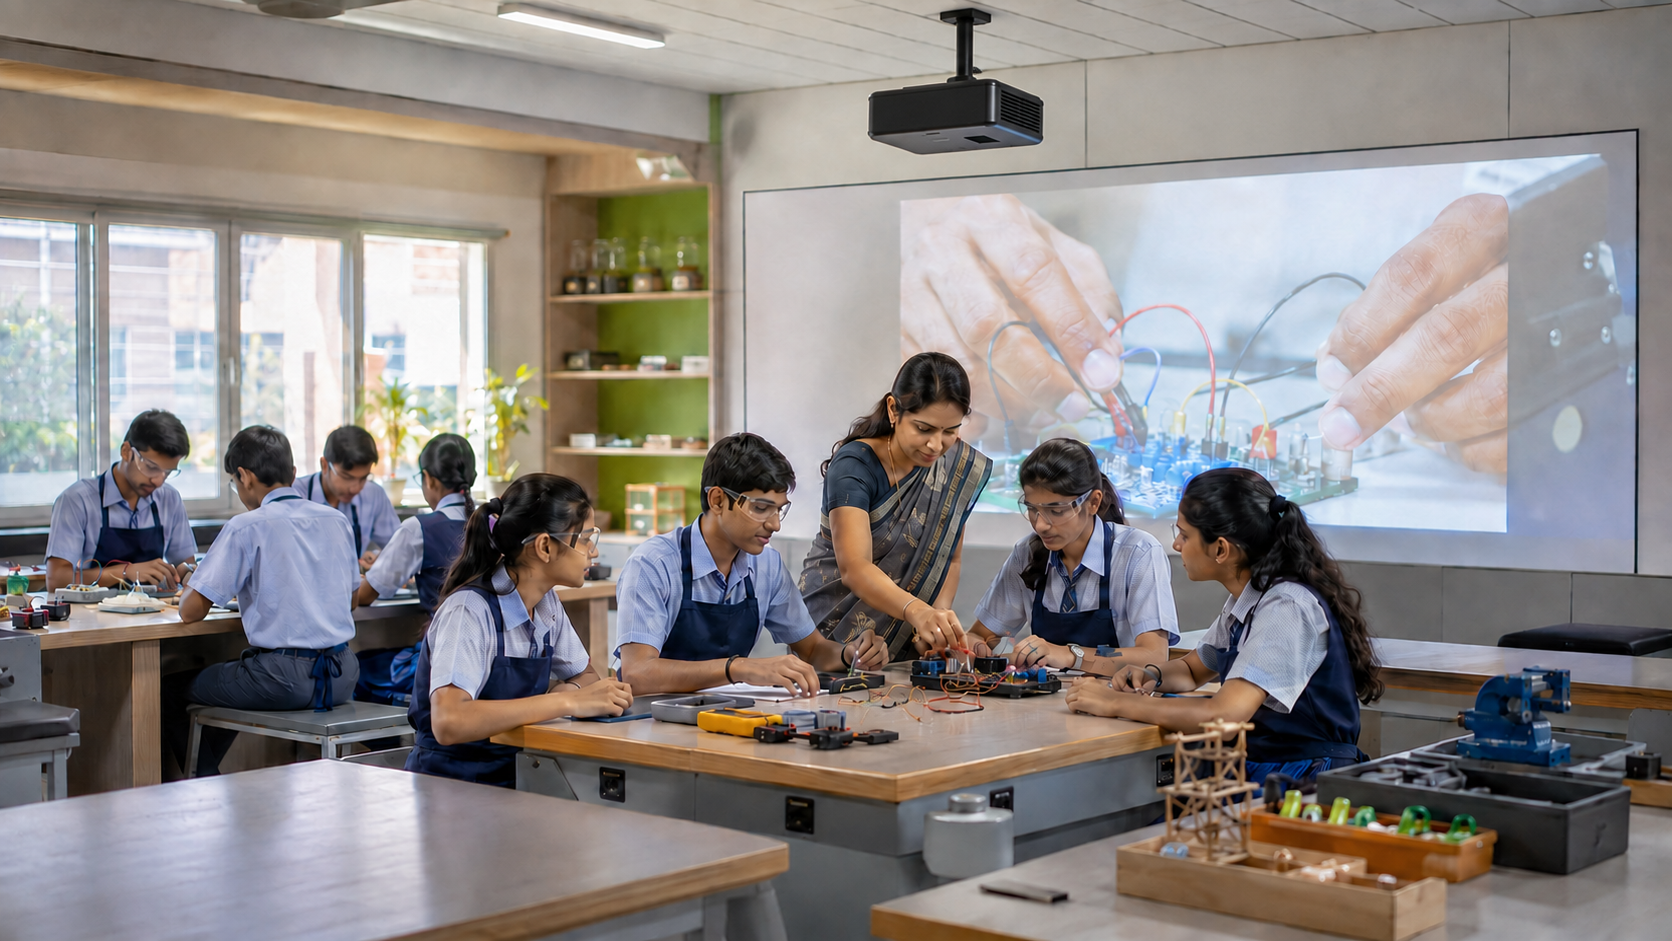
An interactive projector or projection-based interactive system projects lesson content onto a suitable teaching surface and adds interaction through the system’s hardware and software configuration.
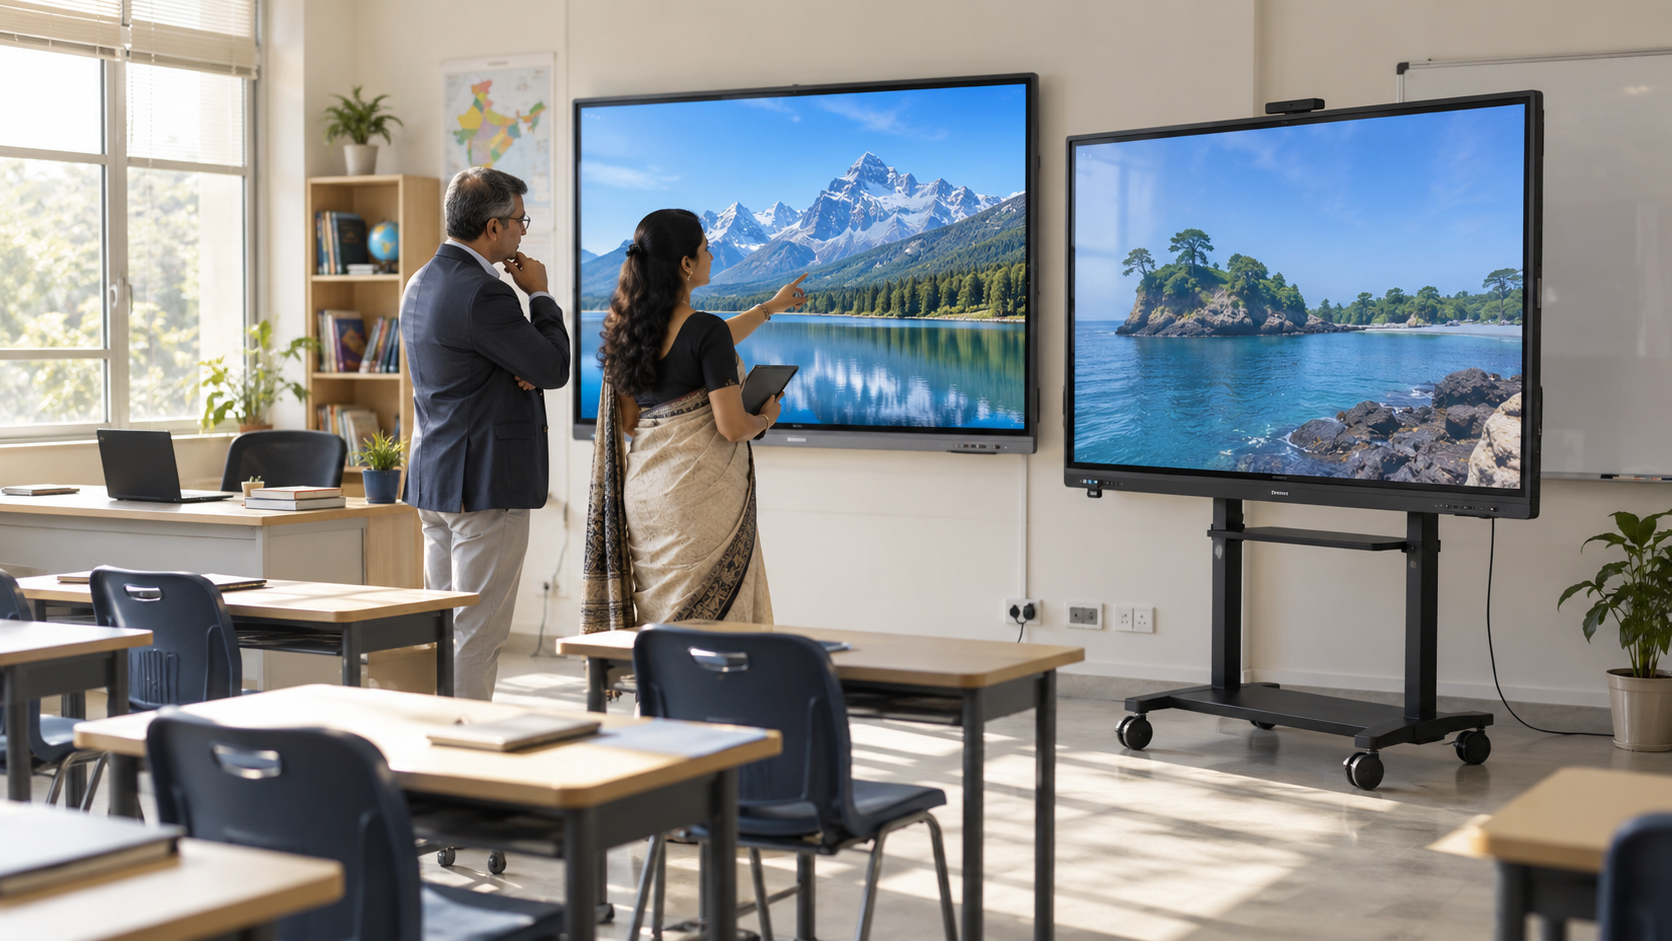
An interactive flat panel combines a digital display and touch-enabled surface in one fixed panel. Computing, cameras, audio, software, connectivity, and other capabilities vary between models and configurations.
A regular classroom projector should also not automatically be treated as an interactive projector. A presentation projector may only display content, while an interactive setup adds the ability to write, annotate, navigate, or interact with the displayed material.
If your team is still sorting through overlapping terms such as smart board, interactive whiteboard, and interactive display, Roombr’s guide to smart board and interactive whiteboard terminology covers those category differences in more detail.
For a buying decision, however, terminology is only the starting point. What matters is how the complete setup performs in your classroom.
Interactive Projector vs Interactive Flat Panel: Classroom Comparison
Use this comparison as a starting point, not as a universal verdict.
The table highlights why schools should avoid choosing based on a single specification.
7 Factors That Should Decide Which Classroom Setup Fits
1. Required Teaching Surface and Viewing Distance
Begin by assessing the classroom itself before comparing product specifications.
A small seminar room, a standard school classroom, and a large college lecture room do not have the same visibility requirements.
Look at:
- Room dimensions
- Normal seating layout
- Distance to the last row
- Type of lesson content
- Typical font and diagram size
- Viewing angles
- Available teaching surface
A larger image can be useful in rooms where students sit farther away, but a larger display is not automatically better. The objective is readable lesson content from realistic student positions.
During a demo, display the kind of material teachers normally use. Check whether students at the back can read labels, equations, diagrams, and presentation text without constant zooming.
For a deeper projector-specific evaluation, see the smart class projector buying guide.
2. Classroom Lighting and Visibility
Room lighting should be part of the buying test.
Projection performance depends on several factors, including projector output, projected image size, projection surface, room lighting, and viewing conditions.
Flat panels have their own environmental considerations, including reflections, glare, viewing angle, and the physical size selected.
This is why a controlled showroom demonstration may not tell you enough.
Ask to see the system under conditions similar to a real lesson:
- Overhead lights on
- Windows uncovered where applicable
- Students seated at normal distances
- Normal presentation backgrounds
- Videos, diagrams, and text displayed
Do not change the classroom routine simply to make the technology look better during a demo.
3. Teacher Interaction and Annotation
Interactive classroom technology should make it easy for teachers to work with lesson content.
Ask teachers to test:
- Writing on the teaching surface
- Annotating over a PDF or presentation
- Erasing and editing annotations
- Selecting tools
- Moving between pages
- Interacting with diagrams
- Inviting a student to participate
- Returning quickly to the lesson
Responsiveness and ease of interaction should be assessed on the actual system being considered.
A specification such as “interactive” does not tell you how comfortable the system will feel during a 40-minute lesson.
4. Lesson Files and the Daily Teaching Workflow
This is one of the most important checks because teachers rarely teach from a blank screen.
They already use combinations of:
- PowerPoint presentations
- PDFs
- Videos
- Browser resources
- LMS content
- Images
- Subject-specific software
- USB or connected devices
Ask a teacher to run through a normal lesson from start to finish.
Can they open the required files easily? Can they switch between resources without interrupting the class? Can they annotate when necessary? Can they use the applications their institution depends on?
Compatibility can vary by file format, operating system, software, connected device, and system configuration. Institutions should therefore test their own teaching resources rather than assuming support.
5. Classroom Infrastructure and Installation
Installation requirements can significantly affect the final choice.
Before approving either approach, involve the relevant IT or facilities team and check:
- Power points
- Wall or teaching-surface requirements
- Network availability
- Cable routes
- Room dimensions
- Teacher movement area
- Existing speakers or other hardware
- Installation access
- Furniture layout
Do not assume that every interactive flat panel requires the same mounting arrangement or that every projection system has identical installation needs.
The vendor should explain the requirements for the specific product and room.
6. Maintenance, Support, and Lifecycle
Purchase price is only one part of classroom technology ownership.
Ask each vendor:
- What routine maintenance is required?
- Which components can be serviced or replaced?
- What warranty applies?
- What happens if the system stops working during teaching hours?
- What software support or updates are required?
- How is service handled at your institution's location?
- What replacement components may be needed over time?
Avoid category-wide assumptions such as “panels last longer” or “projectors are cheaper to maintain.”
The useful comparison is between the actual systems being shortlisted.
7. Multi-Classroom Deployment and Scalability
A system that works in one demonstration room may not automatically be the best choice for a 20, 50, or 100-classroom rollout.
Institutional buyers should consider:
- Whether classroom dimensions vary
- Whether every room needs the same display area
- Required infrastructure work
- Installation scheduling
- Teacher training
- Device management
- Service coverage
- Phased deployment
- Standardization across classrooms
Consistency also matters for teachers. If they move between rooms, the core workflow should not change unnecessarily from one class to another.
This reframes the choice from simply deciding which display to purchase to which classroom system can we realistically deploy and support?
Don't Compare Specification Sheets Alone: Run the Same-Lesson Test
A practical way to compare an interactive projector vs interactive flat panel is to use the same lesson on both systems.
Ask one of your own teachers to conduct the test.
Step 1: Bring a Real Lesson
Use your own lesson materials instead of depending entirely on the vendor’s prepared demo.
Bring a lesson containing the resources the teacher genuinely uses, such as:
- A PowerPoint
- A PDF
- A video
- A website
- Diagrams or images
- A subject-specific application where relevant
Step 2: Use Normal Classroom Conditions
Test the system in realistic lighting and, where possible, at realistic viewing distances.
Look from:
- The front row
- The middle of the classroom
- The back
- Different viewing angles
If you normally teach with lights on, test with lights on.
Step 3: Complete the Same Teaching Tasks
Ask the teacher to:
- Start the system.
- Open the lesson file.
- Write or annotate.
- Edit or erase the annotation.
- Move from a presentation to a website.
- Play a video.
- Test classroom audio.
- Connect any teacher device normally used.
- Let a student interact with the lesson.
- Save or share work if that is part of your normal workflow.
- End the session.
Step 4: Record What Passes and What Needs Review
Use a simple comparison sheet:
This test gives a procurement team much more useful information than comparing headline specifications alone.
Roombr's smart classroom demo checklist provides additional checks that teaching teams can use during vendor demonstrations.
When Might an Interactive Flat Panel Fit Better?
A conventional interactive flat panel may be appropriate when an institution specifically wants a fixed flat-screen format, and the chosen panel size works well for the room.
It may also suit classrooms where the institution prefers the direct-touch panel workflow and has already evaluated installation, viewing distance, support, and infrastructure.
The important point is that these conditions should be verified for the exact panel being considered.
A panel should not be selected only because it is familiar or appears simpler in a product brochure.
When Might a Projection-Based Interactive Classroom Fit Better?
A projection-based interactive classroom may be worth evaluating when the institution wants:
- A larger interactive teaching area
- A projection-based classroom architecture
- Flexibility in the required image area within the supported configuration
- An interactive teaching surface suited to the room
- A complete classroom system rather than a display-only comparison
Again, room fit matters.
Projection distance, ambient light, teaching-surface suitability, image size, installation, and system specifications all need to be evaluated in the actual classroom context.
What Changes When You Compare the Complete Classroom System?
Schools often begin by comparing “projector versus panel.”
But that is rarely the complete purchasing decision.
A working digital classroom may also involve:
- Computing
- Teaching software
- Interaction
- Audio
- Cameras
- Microphones
- Connectivity
- Networking
- Lesson access
- Installation
- Teacher training
- Technical support
Two products with similar display specifications may therefore create very different classroom workflows.
This is also why institutions should compare complete configured costs, rather than comparing only the price of a panel with the price of a projector.
Ask what is included, what is optional, what infrastructure is required, and what additional equipment must be purchased.
Where Roombr Fits Into This Comparison
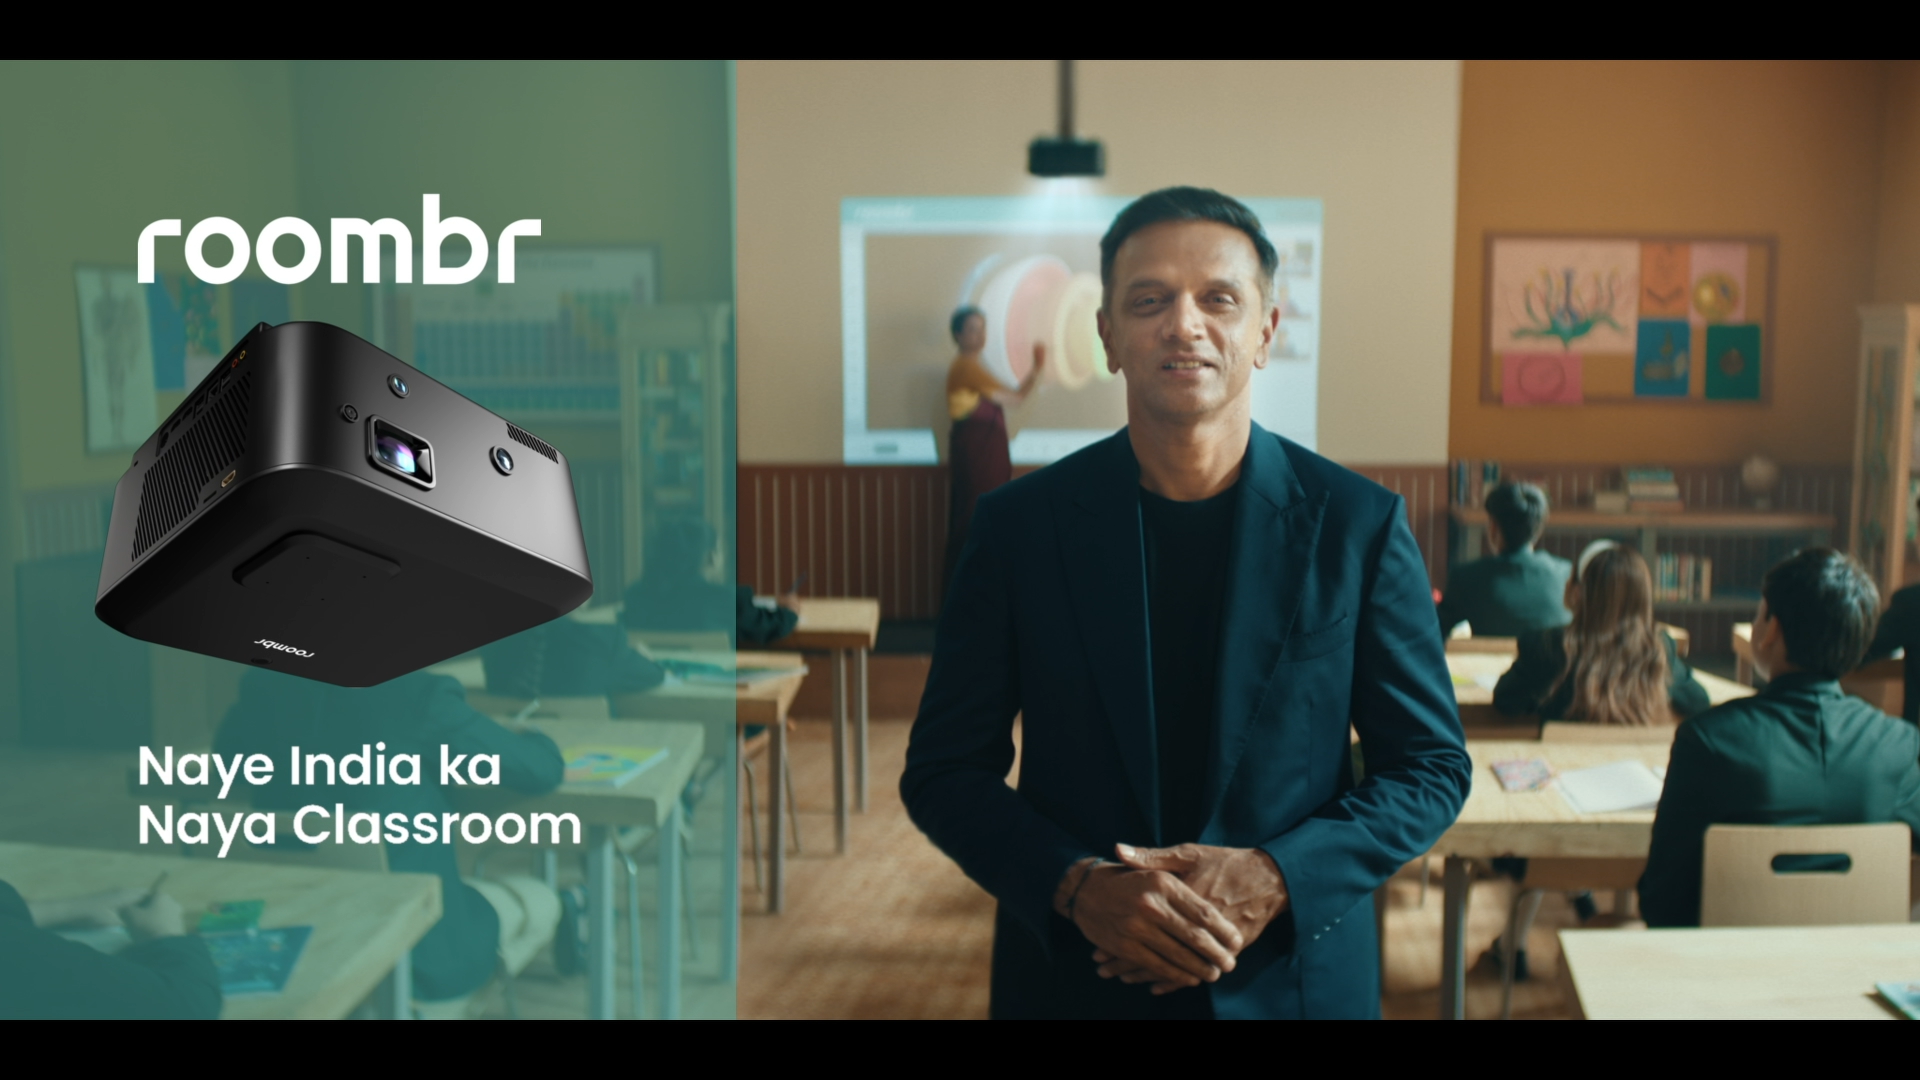
Roombr takes a projection-based approach rather than using a conventional interactive flat panel as the core classroom display.
Roombr's integrated digital classroom architecture combines projection, computing, interactivity, audio, cameras, microphones, and classroom connectivity within a broader classroom system.
The all-in-one Roombr device features Full HD DLP projection, an RGB 4-LED light source, IR-based interaction, integrated Windows computing, audio, cameras, and microphones. Its projection setup can support a large teaching surface, with the actual classroom configuration depending on room and installation requirements.
Rather than following a one-size-fits-all classroom display format, Roombr is designed to adapt to different teaching environments and institutional requirements. Its integrated, projection-based architecture can accommodate varied classroom sizes, teaching styles, lesson workflows, and interactive learning needs.
Schools can evaluate the setup based on their room dimensions, required teaching surface, student visibility, existing infrastructure, interaction needs, and plans for deployment across classrooms.
This adaptability allows institutions to plan the classroom technology around how teachers teach and students learn. A classroom-specific Roombr demo can help the institution assess how the system fits its teaching environment, infrastructure, and rollout requirements.
Frequently Asked Questions (FAQs)
1. Is an interactive projector the same as a regular classroom projector?
No. A regular projector may only display content. An interactive projector or projection-based interactive system adds a method for teachers or students to interact with displayed content. The exact interaction method and capabilities depend on the system.
2. Which is better for a classroom: an interactive projector or an interactive flat panel?
Neither is automatically better. The right choice depends on room size, lighting, viewing distance, required teaching surface, teacher workflow, infrastructure, maintenance, and the complete system configuration.
3. Are interactive projectors suitable for large classrooms?
They can be, depending on the specific system, required image size, projector output, room lighting, projection surface, and student viewing distance. Schools should test visibility using their actual classroom conditions.
4. Does an interactive flat panel always require wall mounting?
No. Installation methods vary by product and approved configuration. Institutions should confirm mounting or installation requirements with the panel vendor instead of assuming every system uses the same setup.
5. What should teachers test before buying interactive classroom technology?
Teachers should test their own lesson files, writing and annotation, switching between resources, video and audio, student interaction, connectivity, visibility, and the complete start-to-finish teaching workflow.
6. How should schools compare the cost of interactive projectors and flat panels?
Compare the total configured classroom system. Include the main hardware, computing, audio, interaction tools, installation, required infrastructure, accessories, maintenance, training, and support instead of comparing only purchase prices.
Test Your Classroom Workflow With Roombr
If you are comparing an interactive flat panel with a projection-based classroom system, use your own teaching requirements as the benchmark.
Request a Roombr digital classroom demo and discuss your classroom size, student viewing distance, lesson files, teaching workflow, infrastructure, and deployment requirements with the Roombr team.
Bring a real lesson to the demonstration. Test visibility, interaction, audio, file handling, and the day-to-day tasks your teachers actually perform.
The goal is not to choose a technology category in isolation. It is to determine whether the complete classroom system fits the way your institution teaches.

Foziya Abuwala
Share
Step Into the future of
Education with Roombr